Driving your car at high speed is what you may like most about your car. But what if you notice some sudden vibration while you press the brake while driving at high speed?
It’s one of those unlikely situations that we don’t want our car to bring on, right? Yeah, we understand.
Now, to get out of trouble, you need to go through a series of instructions. And the most probable culprit behind this scene is maybe a damaged brake rotor.
To give you a hand, we’ve come up with a complete guide to identify the issue behind it and replace the car rotor yourself. Without spending any further time, let’s get going –
Vibration when Braking at High Speed: Reasons and Remedies
While braking, you’re feeling vibrations in the steering wheel, and that’s the problem you are worried about right now. There can be three possible reasons for this problem-
- Brake Rotors
The most common issue is the brake rotors. If the brake rotors are out-of-round by any chance, that’s might be the culprit behind it. In fact, in this article, we’re going to show you the steps to this problem, however. - Problematic Tires
The second possible case that can happen is- the tires. Sometimes the tires are out of balance and you may realize it through vibration while braking. If you’re braking at a high speed like 60+ mph, this problem is more likely to occur. - Brake Caliper
Another common issue can be when the car brake caliper sticks on. If that happens, you’ll feel the vibration while driving at a speed of 50+ mph. The problem will turn worse as you keep driving.
Steps for Changing the Brake Rotor
We’re suspecting that the most likely cause of such vibration is a problematic brake rotor. Especially, when the vibration is in the steering wheel, the probability is even more.
At this stage of the post, we’ll take you through the steps of changing the brake rotor. Let’s begin –
Step 1: Put on Your Gloves
First thing first, you need to wear protective gloves before performing any repair or replacement job on your vehicle. There can be grease and grime around when you’re doing such a job.
So, get a good pair of gloves around your hands, and proceed to the next step.
Step 2: Raise the Vehicle with a Jack Screw
Considering that your car is on a plane and on solid ground, you’ve to lift the car with a jackscrew. Before lifting the wheel, you have to lose the lug nuts.
To prevent other wheels from rolling, you need to block other wheels with the help of the parking brakes.
However, if you’re thinking of using a hand-operated jack, that would be fine. But for doing that with a lot more ease, you may try using a hydraulic car lifter as many professionals do.
Also, apply the jack to a sturdy metal part of the car undercarriage. And make sure that the jack stand is strong enough to support your car’s weight.
Step 3: Remove the Wheels and Calipers
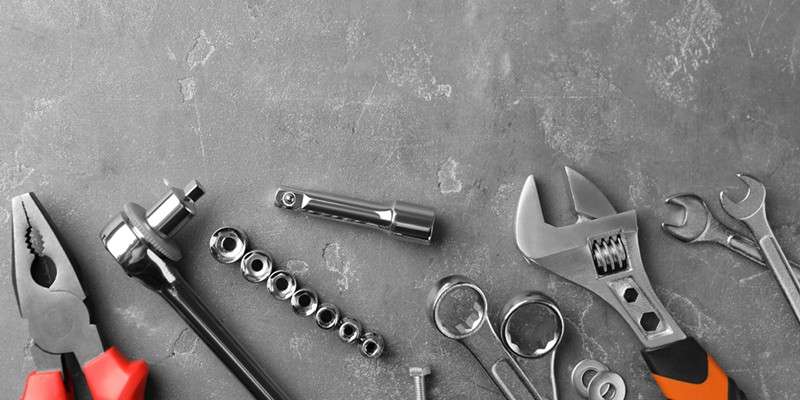
At this stage, you’ve to remove the wheel and the wheel calipers with the help of a wheel lug wrench & other essential tools.
As the rotor is mounted behind the wheel itself, this part is essential for the whole process.
To do that, you need to unscrew the lug nuts and make the hub, rotor, and calipers exposed in front of you. Make sure to keep track of the lug nuts. Otherwise, they might get lost.
Step 4: Remove the Calipers
To expose the rotor fully, you have to remove the calipers first. They usually help to place with one or two bolts. You need to keep them off with the help of a ratchet wrench.
After the caliper mounting bracket bolts are removed, take the caliper off and make sure to keep the spring holdings in the right place.
Also, the brake line may start leaking fluids while you take the caliper off.
To solve that, you need to bleed them after you’re done. This will take this additional air or liquid out of the brake line.
Step 5: Remove the Brake Rotor
At this stage of the process, you need to remove the brake rotor and replace it with a new one.
When the caliper is removed, the brake rotor should come off easily. However, the rotor may not come off easily due to rust. You may need to apply some grease or penetrating oil and tap with a hammer if needed.
Step 6: Brake Rotor Replacement
Now, take the rotor off and replace it with the new rotor. Make sure that the new rotor is exactly the same in size and shape as the previous one.
Before placing the new rotor, clean the space and remove the corrosion or debris that is there.
Step 7: Place Everything Back
Now, re-install the caliper with the help of screwdrivers, and replace the tire opening at its place. Remember to keep it in place with proper screws. You may use a tool organizer in this regard.
For more clearance about this issue, Here is a relevant video!
What to Do after Installing the Rotor?
If you’re done with installing a new rotor, there are still some works left to do. One that manufacturers recommend is ‘bedding in’ the brakes.
That would reduce the chance of vibration a lot. Here are the steps of bedding in the rotor –
Step 1: As you’re done with installing the brake pads or rotor, do 8-10 slowdowns with moderate pressure. The pressure should be around 50mph.
Step 2: Next on, make one or two more slowdowns with a bit of increased pressure now. The pressure measurement should be around 50-60 mph right now.
Remember, You don’t have to drag the brake while doing that.
Step 3: You’ve to let the brake system cool down now. It may take around 15 minutes to do that. Once again, don’t apply any pressure at this stage.
If you do so, it will again end up with braking vibration!
Now, your brakes are ready to use normally again. If you still feel some vibration, you need to re-bed the brakes again. For that, start from step 1 and continue.
Conclusion
There are a few ways to reduce the vibration when braking at high speed, and most of them take little time or money. The simplest fix is to replace your pads with ceramic ones.
You can also purchase an aftermarket brake kit that includes new rotors, calipers, and fluid; these kits typically come with instructions on how to install them yourself.
Tire rotation will help you maintain even wear across all four tires as well- this helps keep vibrations down during braking by eliminating some uneven tire pressure points from where they contact the road pavement surface.
If it’s difficult for you to find any extra cash lying around in order to make one of these investments, then avoid driving over 50 mph until you get more funds!