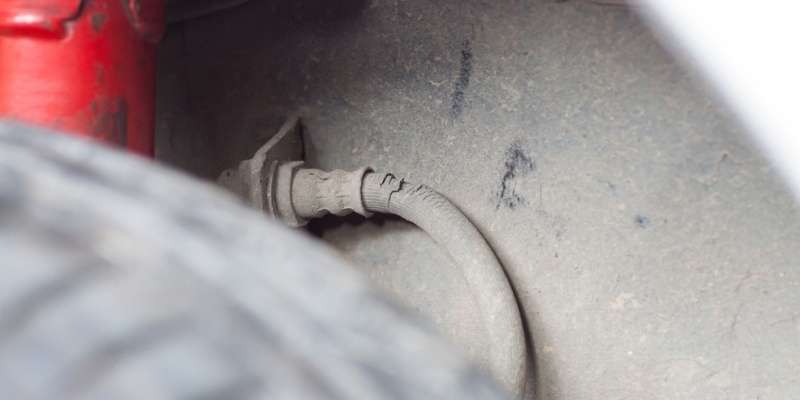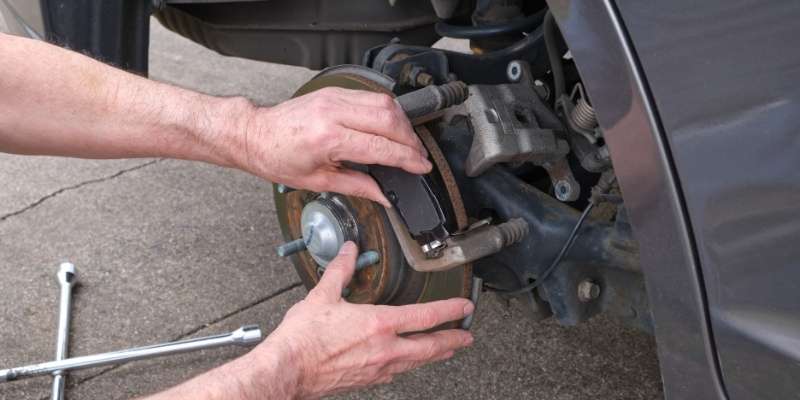
A brake line flare helps assure you of a leak-proof connection without the need for extra sealants or materials. The braking system should be enclosed for pressure to be transmitted equally without failure.
The double flaring technique is SAE recommended for both air conditioning and brake systems in vehicles.
Typically, flaring brake lines appears to be a daunting task, but it is one that even a DIY mechanic can easily manage.
Read this step-by-step guide on how to double flare a brake line and find out just how easy it is.
1. Gathering the Tools and Materials
Every mechanical job has its recommended tools if you would like to achieve the best possible outcome.
Flaring steel brake lines are no exception. There are different types of appliances used for flaring, including hydraulic, manual, and leverage manual.
For home DIY projects, you will mostly need manual tools, which are the cheapest and easy to use.
Hydraulic brake line flaring tools and leverage manuals are quicker and more expensive but are recommended if you need to make multiple flares in a day.
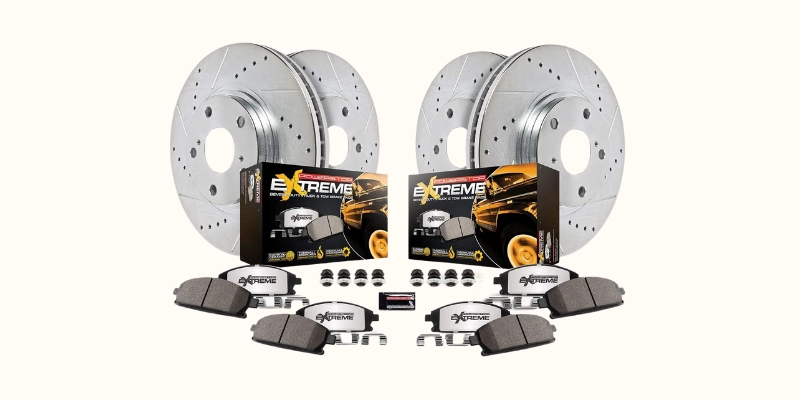
Always Use Proper Flaring Tools for consistency and accuracy of results. A double flare brake line kit is easy to find, not to mention affordable.
It would be best if you also researched the right fittings, flare nuts, brake line fluid, and sizes recommended for your vehicle from the owner’s manual or at the local auto shop.
Other tools that you should have to get include a tape measure, tubing cutter, gloves, and a tubing bender.
2. Cutting the Tubing
The next step is to get the tubing or brake lines ready for flaring. Using the old brake lines or the line that needs replacement as a guide, measure and cut each line accordingly.
Tubing cutters work well when their blade is tightened after every revolution you make around the point you want to cut.
You may use a hack saw, but it is not recommended for brake lines because they are not as strong metals.
When flaring a tubing, a perfect perpendicular cut is crucial. This helps ensure that the flare turns out even. An uneven flare compromises the fit of a flare with other fittings, and hence the fit may not work.
3. Cleaning
After the tubing is cut, remove any burrs by filing as burrs interfere with the flaring process.
The cut edge of the tube should be not only perpendicular to the length of the b but also smooth.
A lot of care should be taken while removing burrs to avoid thinning the metal of the tubing too much. A thin tubing is usually compromised and may split while in use.
Also, ensure that the tubing is adequately cleaned after all the cutting. After burring is done, clean any metal parts on the end that have been cut.
This is done to avoid any debris when you begin flaring. A regular screwdriver does a great job at deburring, but the tubbing cutter also has a blade-like structure for deburring.
4. Slide the Fittings into the Tubing
You should install the fittings so that it is screwed on over the flare you make.
Ensure that the fitting is placed in such a way that the threading faces the side you have just cut. Leaving out the fitting at this stage may make it a lot harder for you to figure out how to do it later.
Most of the lines are usually flared on both ends; hence you have to ensure that you add two fittings, each pointing in opposite directions. Your tubing is now ready for flaring.
5. Setting up the Tubing
The base of the flaring tool is easily manageable when mounted in a vise.
However, it is possible to use it without the vise. The tubing line should be loaded into the correct/corresponding hole, and then the wing-nut clamps tightened to hold the line in place.
The actual flaring tool ought to hang over the table’s edge as the brake lines have to drop below the tool while you work. Leaving about 1 or 2 mm above the flaring base is enough to make a flare.
Each double flare brake line kit comes with a set of dies. Before flaring, you should make sure the die matches your tubing line as each line size has its matching die. The die usually has a step, which is the depth of a line for a flare.
Moreover, the flaring tool’s wing nuts should be tightened to hold the tubing firmly.
The next step is to insert the die with the stub sliding into the brake line. The stub is made to slide into the line to secure the die in place.
6. Make a Bubble Then Double Flare
One of the types of fuel line flares is a bubble flare that comes before a double flare.
After all, is set, press the locks over the flaring tool’s base, and the die. The press is usually threaded down till the die comes into contact with the base.
You only thread until the press is tight. Afterward, remove the press and die, and you will notice a bubble on the line.
Finally, the press is placed over the line again without the die and then threaded down.
You only need to go hand-tight to avoid damaging the flare by cranking too hard.
The finished double flare can now provide the required seal for the brake fluid, and it sits against the fitting.
Conclusion
Figuring out how to double-flare a brake line is easy as long as you go by the instructions.
The next time you need to replace a brake or fluid line on your vehicle, you can proudly DIY. If you come across any complications, you can always consult the nearest experts.
Also, ensure that you perform the task precisely to make the braking system work efficiently without failure.
The first few may prove to be quite hard, but once you get used, you can even make a double flare in your sleep.
Practice makes perfect! It is way cheaper, and if done with precision, it works efficiently.
Related Post: